Install Windows 11 manually or offline
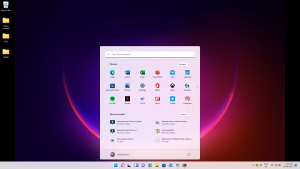
Windows 11, the next release of Windows, is available globally to install all eligible devices. Initially, the rollout would be provided to a small section of eligible users who would be notified through Windows update. This article explains how to Install Windows 11 offline or manually, either using Microsoft-provided tools or use the ISO file to upgrade offline. Although, the rollout through Windows update would take time and is expected to be complete around 2022.
Install Windows 11 Offline
To Install Windows 11 offline or manually, you can use either of these methods:
- Use the Media Creation Tool to Upgrade using the Upgrade this PC option in the tool.
- Download the Windows 11 ISO file using Media Creation Tool and upgrade offline.
Applies to: Windows 11
Step 1: Make sure the PC passes the Windows 11 compatibility check
Windows 11 has very high system requirements, hence the first thing you need to check if your device supports it. You can see this article and download any of the tools mentioned below to confirm Windows 11 compatibility.
Check Windows 11 compatibility using these tools – Your Windows Guide
If the tools tell you that your device is compatible, proceed to Step 2.
Step 2: Install Windows 11 manually or offline.
There are multiple ways to Install Windows 11, and the most reliable is the Media Creation Tool. There are several methods to upgrade using the Media Creation tool, given below:
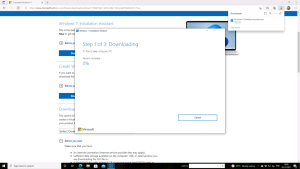
Method 1: Install Windows 11 using Installation assistant.
As the Tool’s name proposes, the Installation Assistant upgrades your Windows 10 to Windows 11 through an automatic process.
Download Windows 11 Installation Assistant
After downloading the tool, it would check the compatibility. If your PC passes the check, accept the license terms, which would start the upgrade.
Method 2: Use the ISO file
Using the ISO file method is beneficial if the target PC does not have Internet connectivity or has limited data. Concurrently, using an ISO File or creating a USB drive helps to install Windows 11 manually.
Download Windows 11 Media Creation Tool
- Run the Media Creation Tool.
- Then, Select Create Installation Media for another PC.
- Further, If you want to upgrade the same device on running the Tool, enable the box titled “Use the recommended options for this PC.”. If it is a separate PC, choose the desired options and click Next.
- Select your USB drive.
- Let the Process complete of writing the Installation files to the USB drive.
- Click Finish.
- On the PC you wish to upgrade, Press Win+E to open the File Explorer.
- Last, Open the Removable drive and click Setup.exe. Press Yes when prompted.
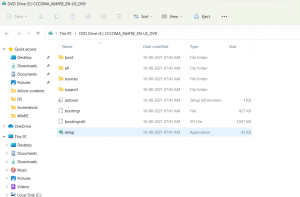
- Next, You should see a Windows screen.
- Click Next. You should see a screen which says “We are getting a few things ready”. Then, Accept the license terms on the next screen.
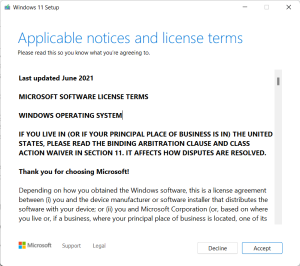
- After that, Confirm the Upgrade options – Files, apps and Settings are kept, and Windows 11 is installed. A tick besides confirms it.
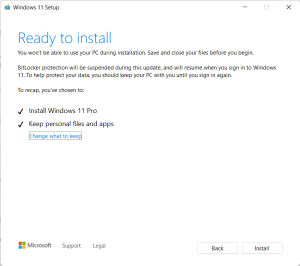
- Click Install, and the Upgrade should start eventually.
- Let the Process complete, which can take around 90 minutes.
- After logging in using the PIN, you would see Setup giving final touches to the Upgrade.

- Shortly, You should see Windows 11 desktop.
- For better reliablity, check for Windows updates immidiately.
Method 2.1: Upgrade to Windows 11 using ISO file
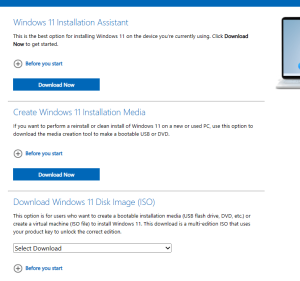
In case, If you do not have a USB drive, you can save the ISO file to the desired folder and upgrade your computer. Microsoft provides direct links to the ISOs on the Software Download Page.
Download Windows 11 (microsoft.com)
- Select the Desired Language, and start the download.
- Thereafter the download, continue with Method 2.
Also check : Upgrade to Windows 11 From Windows 10 – Your Forum Mentee


